
Hello, I am Artem and I use Stable Diffusion to generate images almost daily. Most of the time, I do it on my computer. This way it is the most flexible AI models for generating images. Stable diffusion it was made by Stability AI, in collaboration with academic researchers and non-profit organizations and has a very active community. Stable Diffusion 3 is the latest iteration of this text-to-image AI model. It has a lot of improvements over previous versions that I tried, and it is in many ways superior to OpenAI's DALL-E 3.
In this guide, I will briefly explain how it works locally and show you how to run Stable Diffusion locally (and online).
How Stable Diffusion Works?
Stable Diffusion is, as name says, a diffusion model, which is a type of deep learning model, a generative model. This "Diffusion" comes from its mathematical similarity what diffusion means in physics. So, SD AI was trained to create new data like what it has learned from past data.
Generative modeling is a type of unsupervised learning that automatically discovers and learns patterns in input data. This allows the model to generate new examples that resemble the original data.
While DALL-E 3 is a closed-source commercial product from OpenAI, Stable Diffusion 3 is an open-source model designed to meet or exceed DALL-E 3's performance. Stability AI's human preference evaluations show that SD3 excels in areas such as typography (text rendering) and also prompt adherence (following the given context). From what I can say, it is outperforming DALL-E 3 in all those aspects.
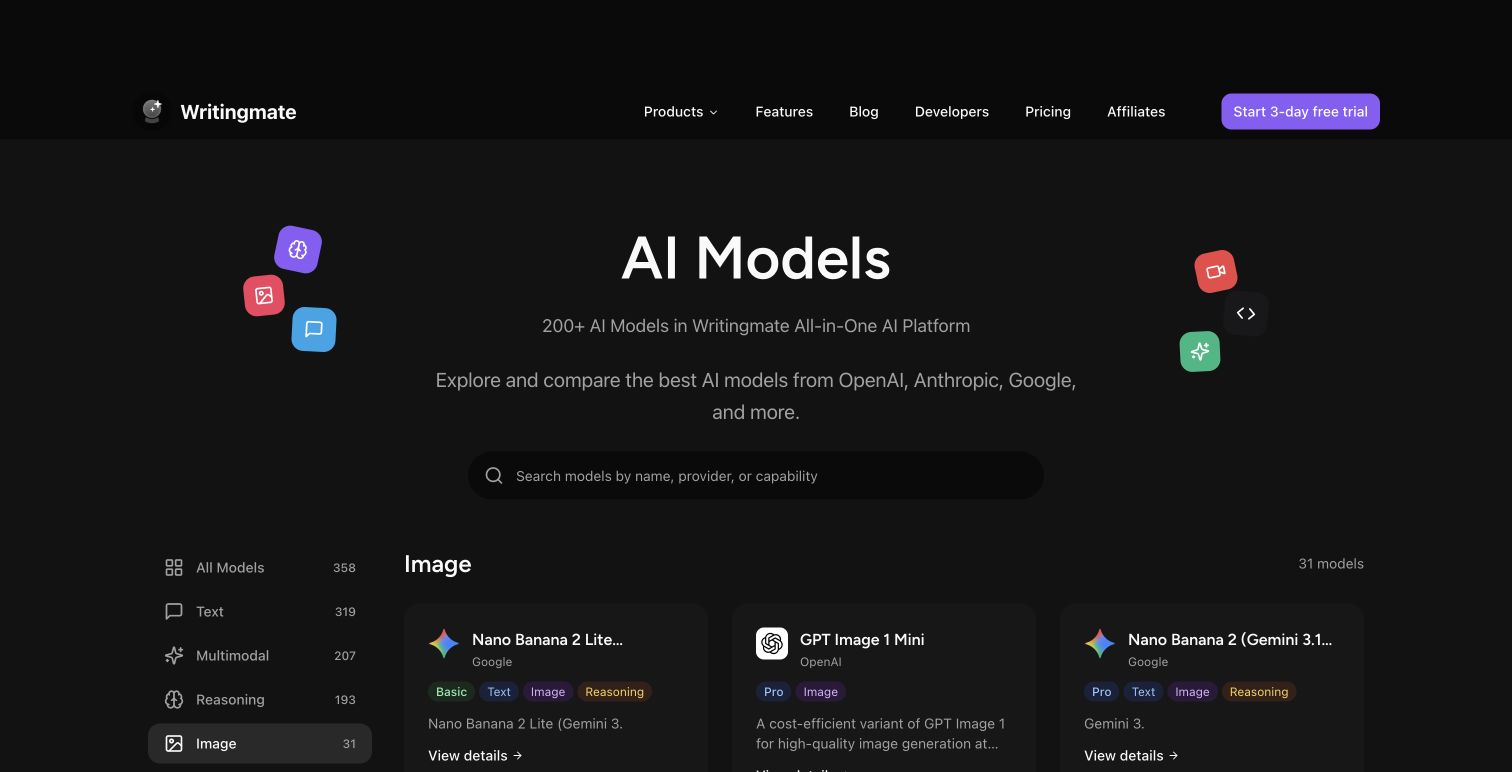
To use Stable Diffusion online with less limits and to generate images with multiple AI models at the same time, you can simply use Writingmate. Maybe, instead of going through all the steps I mention later, you would get more use out of running SD3 online and combining it with all the other top AI models from DALLE or FLUX (for images) to GPT 4o, Claude 3.5 Sonnet, Perplexity and others. To try it out, visit https://writingmate.ai.
By the way, here is a video tutorial on installing Stable Diffusion on Windows. There are also similar tutorial available for Mac, but my text tutorial below will explain this in a clear way.
How to Run Stable Diffusion Locally
If you want to experiment with Stable Diffusion local, right on your local computer, there are six steps to it.
Running Stable Diffusion locally lets you experiment with various text inputs to generate images precisely for your needs. And you can also fine-tune the model on your data for better results.
Note: You must have an actual GPU to run Stable Diffusion on your PC.
Step 1: Install Python & Git
You will need Python 3.10.6 to run Stable Diffusion on your local computer. You can download it from the official Python website. If you have any issues, refer to our How to Install Python tutorial.
To check if the installation was successful, open the command prompt, type python, and execute the command. This should display the Python version you are using. If you don’t see Python version 3.10.6 or later, ensure you’ve removed all other versions of Python from your PC.
Next, install Git. You can follow the Git Install Tutorial for assistance.
Note: Don’t proceed without Python 3.10.6 or later versions.
Step 2: Create GitHub and Hugging Face Accounts
GitHub is a hosting service for software development. It’s where developers host their code to track and collaborate on projects. If you don’t have a GitHub account, now is a good time to create one. Here, the GitHub & Git Tutorial for Beginners can help.
Hugging Face is an AI community that supports open-source contributions. It hosts various models, including those for natural language processing and computer vision. You’ll need an account to download the latest version of Stable Diffusion.
Step 3: Clone Stable Diffusion Web-UI to Your PC
This step involves downloading the basics of the Stable Diffusion installation to your local PC. It’s helpful to create a folder (e.g., stable-diffusion-demo-project) for this purpose, but it’s not required.
Using Git Bash, you should navigate to the folder where you want to clone the Stable Diffusion web UI with this command:
cd path/to/folderThen, run the following command:
git clone https://github.com/AUTOMATIC1111/stable-diffusion-webui.gitAnd if that command executes successfully, you should now see a folder called stable-diffusion-webui.
Step 4: Download the Latest Stable Diffusion Model
Log in to Hugging Face and download a Stable Diffusion model. This may take a few minutes because it’s a relatively large file.
Once downloaded, navigate to the “models” folder inside the stable-diffusion-webui folder. There should be a “stable-diffusion” folder containing a text file titled “Put Stable Diffusion Checkpoints here.”
Move the downloaded Stable Diffusion model to this folder. The path should look like this:
stable-diffusion-webui\models\Stable-diffusionStep 5: Set Up the Web-UI
The next step is to install the tools required to run Stable Diffusion. This process can take about 10 minutes.
Open your command prompt and navigate to the stable-diffusion-webui folder with this command:
cd path/to/stable-diffusion-webuiOnce there, run:
webui-user.batThis will create a virtual environment and install all necessary dependencies.
Step 6: Run Stable Diffusion
After the dependencies are installed, a URL will appear in your command prompt:
http://127.0.0.1:7860.
Copy and paste this into your address bar to run the Stable Diffusion web UI.
How To Run Stable Diffusion Online
If you want to get started with Stable Diffusion online, you can run it using the following tools:
Writingmate AI
When not opening my downloaded SD3, I usually generate images with Stable Diffusion right on Writingmate. With Writingmate, you can not only use Stable Diffusion 3 but also compare it with DALL-E 3 with Writingmate AI Split View mode. Here’s how I do it:
Go to the Writingmate website: Writingmate and log in.
Activate the Pro Subscription for 20$, as using text-to-image models requires a subscription. Instead of paying 20$ for one single subscription like ChatGPT or Google Gemini, you can use this amount to use all of the top AI models with no limits.
Choose Split Screen mode on the left panel and select AI Image Generators in the Plugins menu.
If you prefer not to pay, Writingmate offers free access to many models. For $20/month, you get unlimited access to DALL-E 3, Stable Diffusion 3, and other Pro models like Claude 3.5 Sonnet or Opus, Gemini 1.5 Pro, and Perplexity AI. Writingmate lets you access top AI tools for a fraction of the cost of other subscriptions and it literally saves you hundreds each month.
And if you want to create images with models other to Stable Diffusion or Dalle, you can also use newest flux.ai to generate slightly less generic images with almost no effort. When not having time to prompt Stable Diffusion, I switch to flux and love it for its style and quality.
Writingmate also has a video of running and comparing DALL-E 3 and Stable Diffusion 3 using this Writingmate Split Screen:
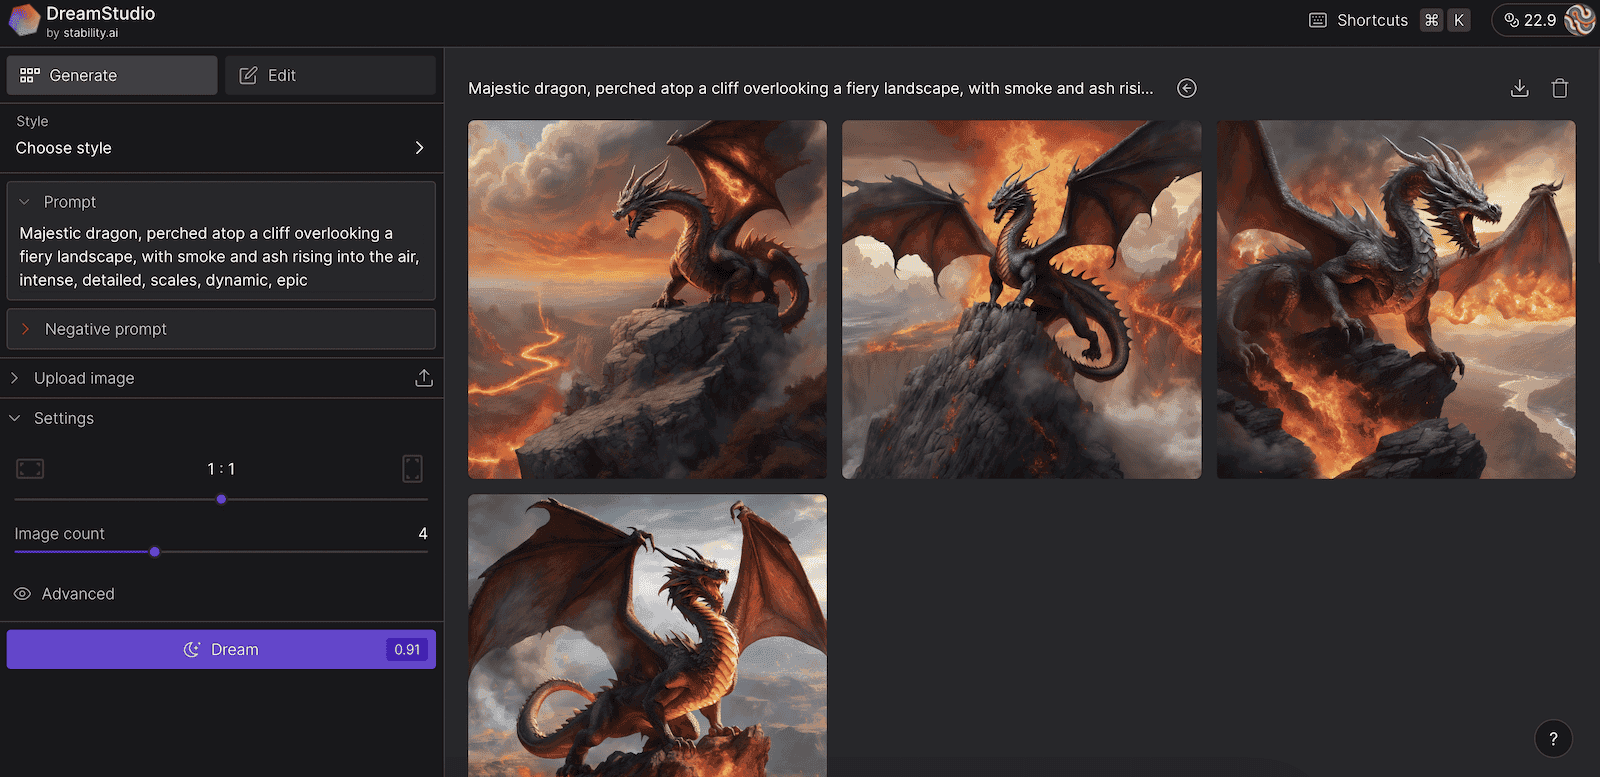
DreamStudio
Stability AI, the team behind Stable Diffusion, have made it easier to test such a text-to-image model with an online tool called DreamStudio. It lets you generate a couple of images before you hit the limit and need to buy credits. This platform gives a most basic access to Stable Diffusion in an online way.
To use DreamStudio, you need to sign up. New users receive 25 credits (at the time of writing) when they create an account, which lets you generate around 100 images. If you need more, you can purchase extra credits from the account dashboard.
Hugging Face Stable Diffusion
Hugging Face is an AI community platform known for its open-source contributions. It also offers access to the latest Stable Diffusion models. The downside is that you can’t customize properties as you can in DreamStudio, and in my experience it also takes more time to generate an image. That is why, again, I like to use Writingmate when I use Stable Diffusion online.
Summing Up
Running Stable Diffusion locally or online gives a lot of flexibility and control over your image generation projects. You can choose DreamStudio, Writingmate AI, or Hugging Face for online testing, and you can set up the model on your local computer to use this open-source image generation model. With Stable Diffusion 3, you can make some high-quality, detailed images that meet your specific needs. It is better than competitors like DALL-E 3 in key areas. That is why I believe that SD3 can take many of your projects to a literal next level.
Thank you for reading, I hope this tutorial was helpful and made things clear. For detailed articles on AI, visit our blog writingmate.ai/blog that we make with a love of technology, people and their needs.
Frequently Asked Questions
Sources
Written by
Artem Vysotsky
Ex-Staff Engineer at Meta. Building the technical foundation to make AI accessible to everyone.
Reviewed by
Sergey Vysotsky
Ex-Chief Editor / PM at Mosaic. Passionate about making AI accessible and affordable for everyone.


