Does this sound familiar? You start you morning with WordPress chores: drafting posts, fixing formatting, moderating comments, copying and pasting SEO snippets. I know the feeling all too well. I'm Sergey Vysotsky, co-founder of Writingmate.ai, and this daily grind is exactly why we built our platform.
This is a better way. By connecting Writingmate to your WordPress site using Zapier's MCP, you can simply tell your site what to do in plain English. Say something like, 'Draft a post, add a couple subheadings, drop in an image, and schedule it for Friday.' Consider it done.
No struggling with plugins. No touching PHP code. It’s a simple, click-by-click setup, and then your AI assistant will handle the rest. In this guide, I’ll show you how to set up MCP, connect it to your WordPress in under five minutes, and I’ll even share some pre-built ‘agent’ ideas. My goal is to make Writingmate the most helpful and straightforward WordPress assistant for anyone who isn’t a developer.
What is MCP (Model Context Protocol)?
Think of MCP as a secure bridge that lets an AI like Writingmate talk safely to your tools, like WordPress and thousands of others. Instead of installing another bulky plugin, MCP gives your AI a specific set of safe, approved commands it can use, things like “Create Post,” “Upload Media,” or “Update Post.” You just approve the connection one time, and from then on, you can just tell it what you want in plain English.
The core concept is broken down simply:
One connection, endless possibilities. Once you connect Writingmate to MCP, it can instantly work with thousands of apps in Zapier’s system, including WordPress without you writing a single line of code.
You’re in control. You set the rules, deciding exactly what the AI is allowed to do. For example, you can let it create drafts but not delete published posts.
It's secure by design. The connection uses OAuth (like when you login with Google), so you authenticate through Zapier directly. Your password will not be shared with the AI.
Fewer plugins, less clutter. You won’t need to search for a special ‘MCP for WordPress’ plugin. Everything is done through Zapier’s existing WordPress connector within your MCP server.”

Why combining Writingmate with WordPress via MCP is more powerful than a standard chatbot
Most of the AI chatbots keep all information inside their platforms. They can write a decent sentence, or calculate something, and that's where it ends. But when you connect Writingmate to a WordPress MCP server, it becomes an assistant that actually does the work for your Wordpress website.
From draft to done. It doesn't just write; it formats and hits “Publish”, carrying out the entire process from start to finish.
Works for all your apps. In the same chat, you can tell it to create a Trello task, draft your newsletter in Gmail, or share a post on social media. Zapier makes this possible, all without leaving the conversation.
Built for everyone, not just developers. The setup is as simple as pasting one URL and clicking through a few steps.
Evolves with your tools. Whenever you add a new app to your MCP server, your AI assistant can start using it immediately.
Looking for more writing workflows and prompts? You’ll find them on our blog. A great place to start is with my own story: How I Replaced Six Apps with All-in-One AI.
Need some quick tools for your WordPress site, like a title generator or meta description helper? You can get all of those from our Free Tools page.
Set Up A Free WordPress MCP Server in Zapier (5 Minutes)
The interesting part is that you can try this on a free plan. Just follow these simple steps:
Log in to your Zapier account.
Head over to zapier.com and sign in. If you don't have an account, creating one is quick and free.Go to the MCP Servers page.
You can find it on this link: https://mcp.zapier.com/mcp/servers.Create your new MCP server.
Click "New MCP Server." When it asks for the "Client Connection," select "Others." Give it a name you'll recognize, like "My WordPress Helper," and then click "Create."Connect your WordPress site.
Inside your new server, look for the "Tools" section and search for "WordPress." When you add it, Zapier will guide on how to connect it to your site. You'll need only your site's URL and to log in or provide an API key. This simply tells Zapier what it's allowed to do, like create or update posts.Copy your unique connection link.
Back in the server view, click the "Connect" button. A special URL will be generated, copy it. You'll need this for the next step in Writingmate.
And you're done! Your personal MCP server is now live, connected to your WordPress site, and ready for action.

Connect Zapier MCP to Writingmate (2 minutes)
Now the final step involves linking everything together so Writingmate can start managing your WordPress site.
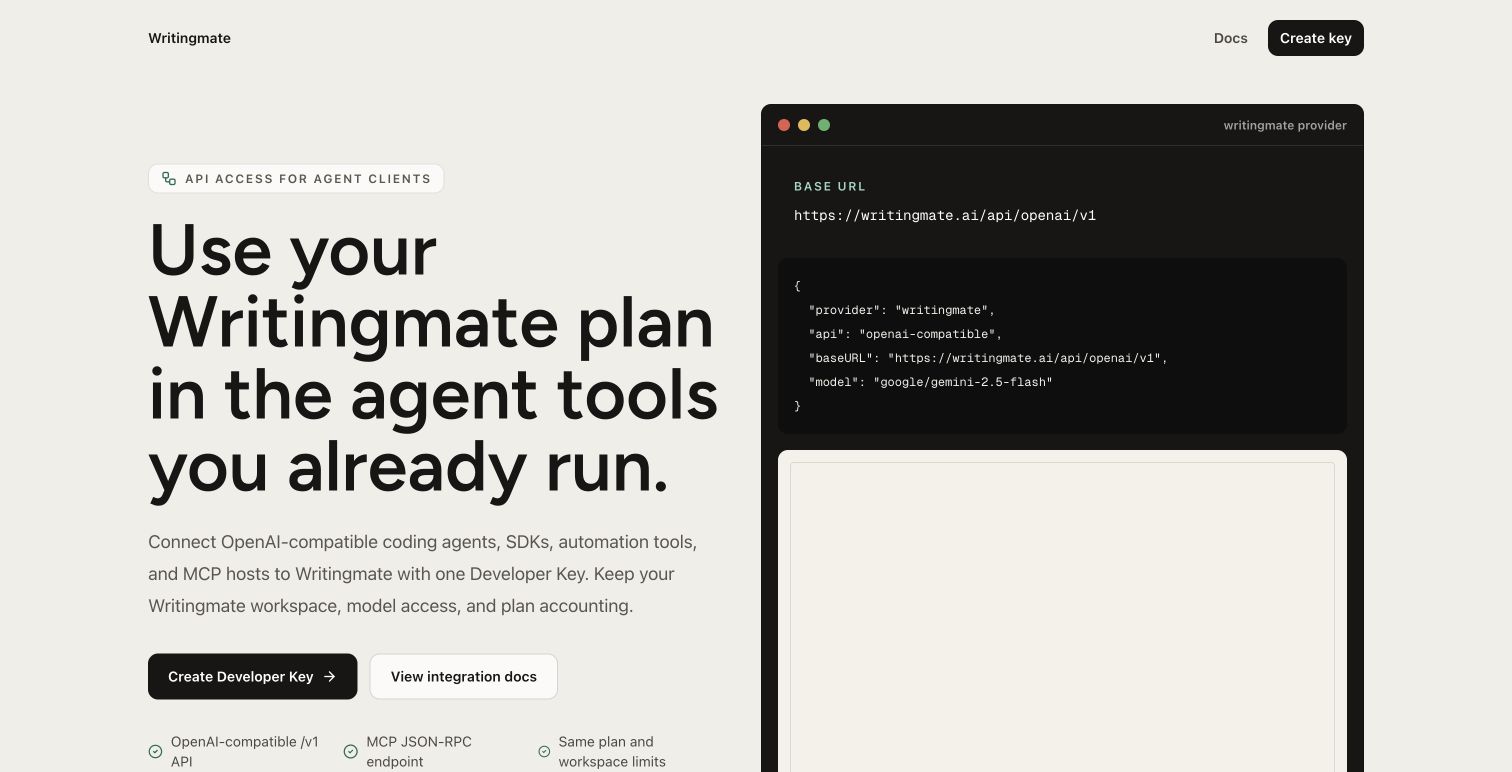
Go to your MCP settings in Writingmate.
Click on your Profile, then find the "MCP" tab. You can also go directly here: writingmate.ai/profile?tab=mcp.Paste your connection link.
Click “Add Server” and paste the special URL you copied from Zapier in the previous step.Pick the best connection type (if you see the option).
If a menu appears, select “Streamable.” This is the recommended setting as it makes the AI’s responses quicker and smoother.Click “Approve” in the pop-up.
A Zapier window will ask you to approve the connection. Click to approve, and you’ll be brought back to Writingmate. You’ll now see your server listed with “WordPress” ready to use.
Quick Tip: You can add multiple MCP servers to Writingmate. For example, one for your live site and one for a test site. You can easily turn them on or off anytime from this settings page.

Your First Test: From A Simple Request To A WordPress Draft
Open a new chat in Writingmate, turn on Wordpress MCP integration ('Tool' icon 🔧), and try typing this:
“Create a new WordPress draft titled ‘Hello from Writingmate’ with three H2 sections: Overview, Key Takeaways, and Next Steps. Please put it in the ‘Blog’ category and save it as a draft, don’t publish it.”
If your WordPress MCP connection is working, Writingmate will build that structure and create the draft for you directly in WordPress. Just go over to your WordPress dashboard, and you’ll find the new draft waiting, exactly as you described.

Useful Daily Tasks (No Tech Skills Needed)
There are a few things you can now ask your WordPress assistant to handle. I’ll also teach you the magic behind the curtain so you know exactly how it works.
“Turn these bullet points into a 1200-word post. Add an intro, a few subheadings, and a call-to-action. Save it as a draft.”
Writingmate writes the post, and your MCP server saves it directly to your WordPress as a draft.
“Clean up yesterday's draft: shorten any long sentences, add subheadings, and find one royalty-free image for each section. Keep it as a draft.”
Writingmate improves the text, then your MCP server updates the post and can add the images for you.“Summarize the new comments on my last three posts. Write friendly replies to thank everyone, but don't post them yet.”
Your MCP server get the comments → Writingmate summarizes them and drafts replies → you review them → your MCP server posts the approved replies.“Translate my most recent post into Spanish. Make it a new post, put [ES] in the title, and schedule it for Friday at 10 AM.”
Writingmate do the translation → your MCP server creates and schedules the new Spanish post.“Add an 'Updated for 2025' note to the top of every post in the 'AI' category. Make sure it looks the same in all of them.”
Your MCP server finds all the right posts → Writingmate adds the consistent update note → your MCP server saves all the changes.
Ready to do more?
When you're comfortable, you can find more detailed prompt examples on blog and step-by-step guides in our docs. For quick help, our Free Tools page has generators for blog titles, outlines, meta descriptions, and more.
WordPress Assistant Ideas You Can Start Using Today
There are a few practical "assistants" you can create (think of each one as a simple set of instructions and tools it's allowed to use). For each one, I'll tell you its purpose, how to set it up in plain English, and what it can do for you.
1) SEO Blog Writer
Mission: Take a simple topic and turn it into a well-structured blog draft that's optimized for search engines, then save it directly to WordPress.
Setup:
Permissions: Allow it to Create Posts and, if you like, Upload Media.
Its Rules: Give it this checklist to follow every time: include the main keyword in the title, a subheading, and the body; write a meta description under 150 characters; keep paragraphs short; add descriptive alt text to all images; and link to at least 2 of your existing posts.
How to Use It:
Say: “Write a draft for a 'Beginner’s Guide to Headless WordPress.' Make sure to focus on the keywords 'headless wordpress tutorial' and 'headless cms wordpress.' Please add links to our two most relevant existing posts.”
Hint: For more SEO strategies, check out our article on how to boost your website SEO using AI tools.
2) Comment Concierge
Mission: Often check your new comments, it gives you a quick summary of what people are talking about and how they're feeling, draft friendly replies, and post them after you check it out.
Setup:
Allow it to: Find Posts, Get Comments, and Create Comment.
Give it a friendly template for replies that mentions the commenter by name and includes a thank you.
Use:
Say: “Please check the comments on my last 5 posts. Summarize the main questions and suggestions, draft some replies for me, and post the ones I approve.”
3) Localization Publisher
Mission: It accurately translate your blog posts into other languages, keep the original formatting and links intact, and schedule them for publication.
Setup:
Allow it to: Read Posts, Create Posts, and Upload Media (in case you need to swap in localized images).
Provide some basic style rules like whether to use a formal or casual tone and to use inclusive language.
Use:
Say: “Please translate ‘Top WordPress Security Tips’ into German. Keep all the links, add [DE] to the title, and schedule it for next Tuesday at 9:00 AM.”
4) Content Updater
Mission: Keep your old posts up-to-date by making bulk changes across entire categories at once.
Setup:
Allow it to: Find Posts and Update Posts.
Set these safety rules: It should not delete anything and must use the "Previous Version" note in the post revisions to automatically save a backup.
Use:
Say: “Find all posts in the ‘AI Tools’ category that are older than 9 months. Add a 2-sentence ‘Updated for 2025’ note at the top of each one and refresh any outdated screenshots.”
5) The Content Scout
Mission: Helps you find great content ideas by looking through your comments, contact form messages, and support tickets for common questions and topics.
Setup:
Allow it to: Get Comments from WordPress, and optionally connect to your Gmail or Helpdesk inbox via Zapier.
What it produces: 10 content ideas with draft outlines, all saved as private drafts in your WordPress.
Use:
Say: “Please look through last month's comments and support emails. Create 10 draft ideas, each with a 5-section outline and some suggested keywords.”
6) The Readability Editor
Mission: Make your content easier and more pleasant for everyone to read by checking heading order, image descriptions, link clarity, and sentence length.
Setup:
Allow it to: Read Posts and Update Posts.
Its Guidelines: Add short, descriptive alt text for images; break up long sentences; make sure link text is clear (not just "click here"); and check that headings follow a logical order (H2 then H3, etc.).
Use:
Say: “Please review my last three drafts to make them more readable and accessible. Fix the heading structure and add missing image descriptions, but keep the tone friendly and conversational.”
7) Launch Day Scheduler
Mission: Handle all the tasks for launch day in one go, schedule the blog post, write social media captions, and line up your announcements.
Setup:
Allow it to: Create/Update Posts in WordPress, don’t forget to connect your social accounts (like X and LinkedIn) and email platforms (like Mailchimp or ConvertKit) through Zapier.
Use:
Say: “Please publish the draft ‘AI Plugins You Actually Need’ this Friday at 10:00 AM, then schedule posts for LinkedIn and X, and draft a newsletter announcement.”
Simple Rules for Safe and Reliable Automations
As much as the setup is straightforward, a few simple habits will make your WordPress workflows much more dependable:
Always Start with Drafts. For your first week, set your assistants to save everything as a draft rather than publishing automatically.
Limit access by category. Only allow your assistants to work within specific categories you choose, like "Blog" posts, and keep them out of sensitive ones like "Press Releases."
Give clear instructions and rules. Inside Writingmate, clearly note each assistant's purpose, what it's allowed to do and also, what it should never do.
Get a second pair of eyes. For important posts, tell the assistant to send you a preview for approval before it goes live.
Use separate logins. Create a different WordPress user account (with Author or Editor permissions) for your automations instead of using your main Admin login.
Track changes easily. Since WordPress saves post revisions, tell your assistant to add a brief "Change Note" with each update so you can always see what was modified and why.
Quick Solutions for Common Issues
I don’t see WordPress tools in Writingmate.
Go back to your MCP settings and check that your server lists WordPress in its tools. If it's not there, you'll need to go back to your Zapier MCP server, add WordPress, and then re-connect it.
Stuck in a login loop.
First, make sure you're logged into the correct Zapier account in your browser. If you're still stuck, try clearing your browser cookies or opening the link in an incognito window.
The post was created in the wrong category.
Remind your assistant to "use the exact category names as they appear in WordPress." You can even ask it to list all your categories first to make sure it's using the right one.
Media refuse to upload.
Check your WordPress media settings for permission or file size limits. When giving instructions, you can also add "please compress images if they're too large."
The edits are too heavy-handed.
Add a specific rule like, "Never delete entire paragraphs, just suggest deletions as comments," or "Only correct spelling and grammar, don't change the writing style."
Advanced: Adding More Tools to your Workflow
Once your WordPress setup start running smoothly, you can easily connect other apps without installing any new plugins:
For your SEO workflow: Connect Google Sheets for your content calendar and Semrush or Ahrefs via Zapier. You can then ask Writingmate to refresh your drafts with the latest keyword suggestions.
For your design process: Connect Canva or another design tool. Your assistant will create post thumbnails and then upload them directly to your WordPress media library.
For your content strategy: After a post is published, ask your assistant to check its Google Analytics performance and recommend which sections could be expanded or updated based on what readers engage with most.
For consistent branding: Connect Writingmate to your product documentation, sales pages, and support FAQs. This helps ensure every draft it writes perfectly matches your brand's voice and information.
Wrap-Up: Your WordPress, Now Operated by AI
You've now seen how you can connect MCP with Zapier, link it to Writingmate, and create helpful assistants that can write, format, publish, translate, and manage comments for you, doing all without using a line of code. From what I've seen, once someone gets their first draft to publish itself automatically, there's no going back. There's something really distinct about being able to manage your site just by asking.
I'd be happy to hear what you build. Did your new comment assistant save your afternoon? Did translating a post bring in readers from across the world? Tell us about it on the blog, And if you're in need for more, our free tools and docs are there to help you build whatever you can imagine.
Enjoy your new and more conversational WordPress. I'm excited to see what you'll do with it.
Frequently Asked Questions
Sources
- https://zapier.com/mcp
- https://zapier.com/apps/wordpress/integrations
- https://developer.wordpress.org/rest-api/
- writingmate.ai/profile?tab=mcp.
- docs
- https://writingmate.ai/blog/best-mcp-servers
- https://wordpress.org/documentation/article/roles-and-capabilities/
- Writingmate.ai
- zapier.com
- https://mcp.zapier.com/mcp/servers
- blog
- Free Tools
- boost your website SEO using AI tools
Written by
Sergey Vysotsky
Ex-Chief Editor / PM at Mosaic. Passionate about making AI accessible and affordable for everyone.
Reviewed by
Artem Vysotsky
Ex-Staff Engineer at Meta. Building the technical foundation to make AI accessible to everyone.


