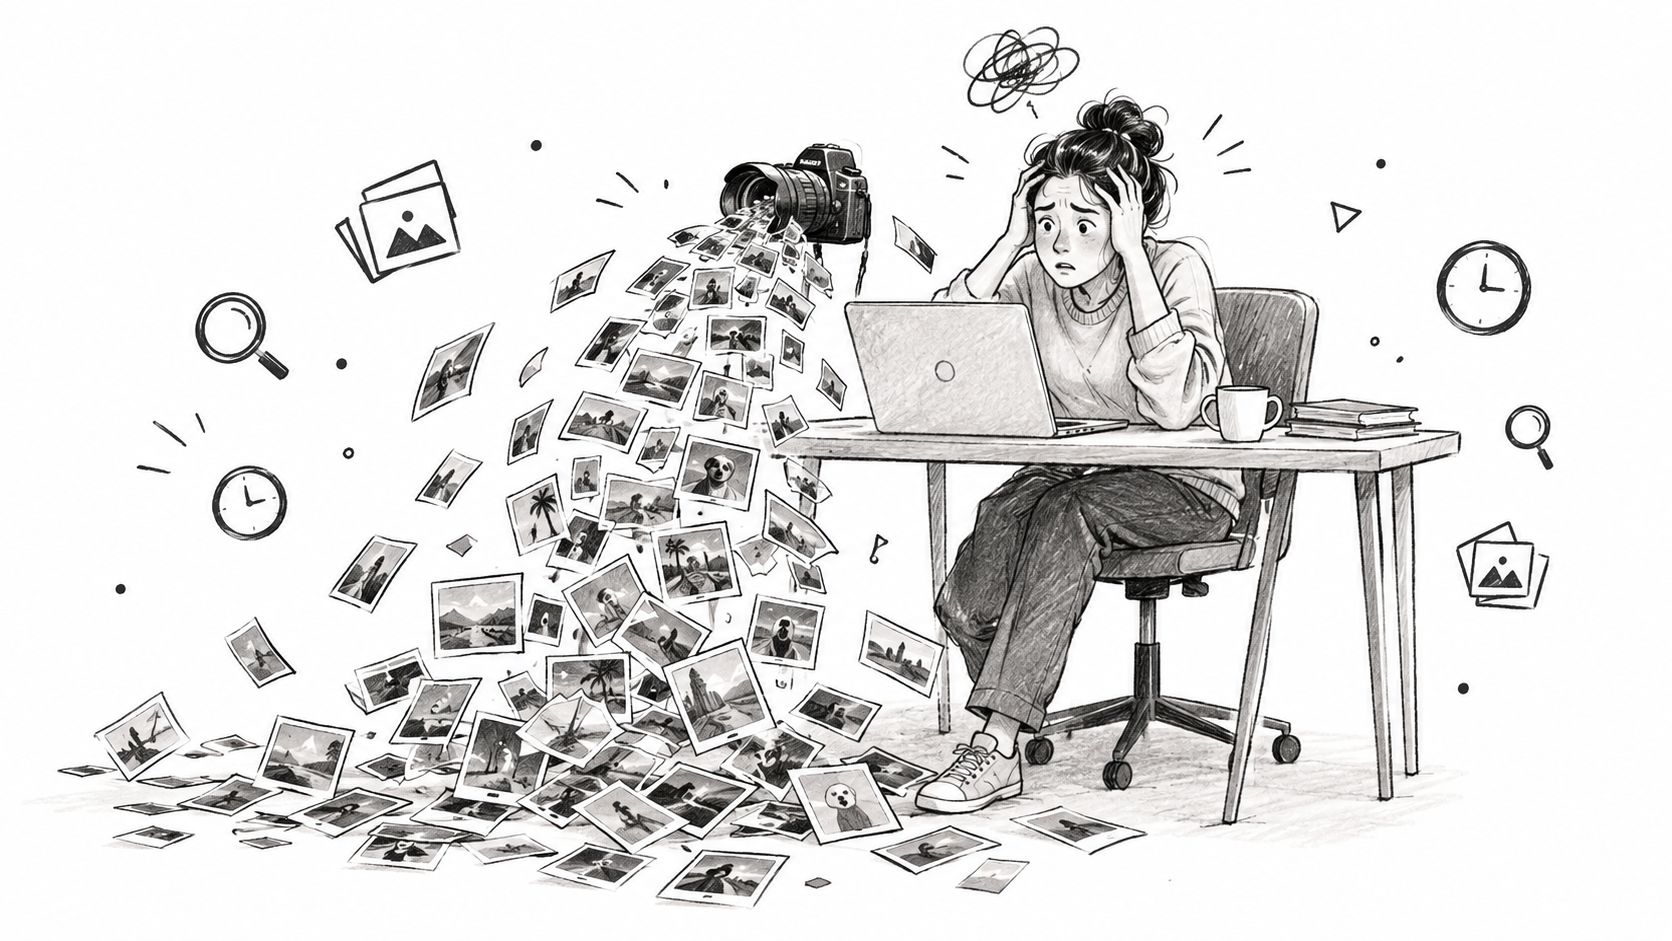
You've just received a folder of product photos, event images, or scanned documents, and the deadline is already moving. You upload one image to an AI tool, get a polished description in seconds, and then notice that it has identified an object that isn't there or turned a guess about the setting into a fact.
That's the essential skill behind analyzing a photo with AI. The tool can describe visible details, read text, find patterns, and organize large batches of images. Your job is to separate evidence from inference, preserve the original, and verify anything that matters.
Table of Contents
- Why You Need to Analyze a Photo With AI
- How to Analyze a Photo Using AI Tools
- Choosing the Right Image Model for Your Task
- Extracting Metadata and Technical Details
- Generating Captions and Alt Text Automatically
- Understanding AI Limitations and Avoiding Hallucinations
- Putting It All Together, A Complete Workflow
Why You Need to Analyze a Photo With AI
A content creator sorting hundreds of images from a shoot doesn't need another generic caption. They need to know which files contain a product, whether packaging text is readable, which images need cropping, and whether each photo has enough context for accessible alt text. A researcher may need to inspect documents, objects, or environmental clues across a large archive. A marketer may need to classify user-generated images before deciding which ones are suitable for a campaign.
Manual review remains valuable, but it becomes slow and inconsistent at scale. AI can inspect an image, extract visible text, identify likely objects, summarize composition, and answer targeted questions in one workflow. Google reported that Lens processed more than 12 billion visual searches per month in June 2023 and nearly 20 billion per month by October 2024, illustrating how visual information retrieval has moved into everyday use (Google Lens visual-search reporting).
Start with the decision, not the description
Before uploading anything, define the output you need:
- Inventory: What objects, people, or text are visibly present?
- Extraction: What words, numbers, labels, or symbols can the system read?
- Classification: Does the image fit a campaign, product category, or archive?
- Accessibility: Can the system produce a concise, literal description?
- Quality control: Is the subject blurry, obstructed, badly exposed, or poorly framed?
- Research support: Which visible clues deserve external confirmation?
“What's in this image?” encourages a broad answer, while “List only the visible objects, quote readable text, and mark uncertain items” creates a more defensible result.
A multi-model workspace such as Writingmate can support this kind of comparison by letting you examine outputs from different models in one place. Its broader workflow also connects image analysis with file handling, web research, and reusable prompts, which is useful when a photo needs more than a one-off caption. For repeatable creative processes, generative AI workflows offer a useful framework for turning isolated prompts into documented steps.
Practical rule: Ask the model to report what it sees before asking what it means.
That distinction protects your workflow from a common mistake. A photo may visibly show a person holding a bottle. It doesn't prove the person endorses the product, owns it, works for the brand, or is in a particular location. AI can help you sort evidence quickly, but it can't manufacture proof from missing context.
How to Analyze a Photo Using AI Tools
A reliable workflow has five stages: preserve the file, define the task, choose a model, request a structured answer, and validate the result.
1. Preserve and inspect the original
Keep the original file untouched. Create a working copy if you need to resize, brighten, sharpen, crop, or redact anything. Note whether the image is a photograph, screenshot, scan, compressed social-media download, or export from editing software. Those differences affect both visible quality and available metadata.
Check the subject's size, focus, lighting, reflections, background clutter, and obstructions before interpreting the output. A model can't recover text that isn't present in the pixels, and enhancement may make an image look clearer without restoring the original information.
2. Upload the image and define one primary task
Upload the working copy to a platform that supports image analysis, such as Writingmate, then select a model suited to the task. A general vision model can describe a scene, while an OCR-focused system is more appropriate for a receipt, label, or document.
Write the prompt as an instruction, not a vague request. For example:
Analyze this product photo. First list only visible objects. Then transcribe readable packaging text exactly. Finally write one concise alt-text option. Mark anything uncertain as “uncertain” and don't infer the brand, material, location, or product benefits.
3. Request an output you can reuse
If you're reviewing one image, plain text may be enough. For a catalogue, moderation queue, or research archive, request consistent fields:
- Visible objects: object name and approximate position
- Readable text: exact transcription, with unreadable portions marked
- Image condition: blur, glare, occlusion, exposure, and framing
- Interpretation: separate from observations
- Uncertainty: low, medium, or high, with a reason
- Follow-up: crop, reshoot, OCR pass, or human review
JSON can help downstream systems, but only if the model follows the requested schema. Validate the structure before importing it into a spreadsheet or database. A natural-language answer may be easier for a human reviewer, while structured output is more useful for repeated operations.
For physical artwork, the quality of the input matters before the AI sees it. Guidance on photographing your art like a professional can help you produce an even, well-focused source image instead of trying to correct avoidable problems later.
The following video provides another practical visual reference for working with the platform:
4. Run a second pass
Don't treat the first response as the conclusion. Ask the same model to justify each important statement with visible evidence, or submit the image to a second model and compare disagreements. Two independent crops can also reveal whether a detection depends on background context or a misleading visual pattern.
For high-stakes decisions, preserve the image, prompt, model, settings, response, and reviewer decision. That record makes the workflow reproducible and shows where a conclusion came from.
Choosing the Right Image Model for Your Task
The most capable model isn't automatically the right one. General scene understanding, text extraction, creative editing, and safety-sensitive review require different strengths, and a model that performs well for one task may be inconvenient or unreliable for another.
Match the model to the question
| Model type | Strong fit | Trade-off | Useful output |
|---|---|---|---|
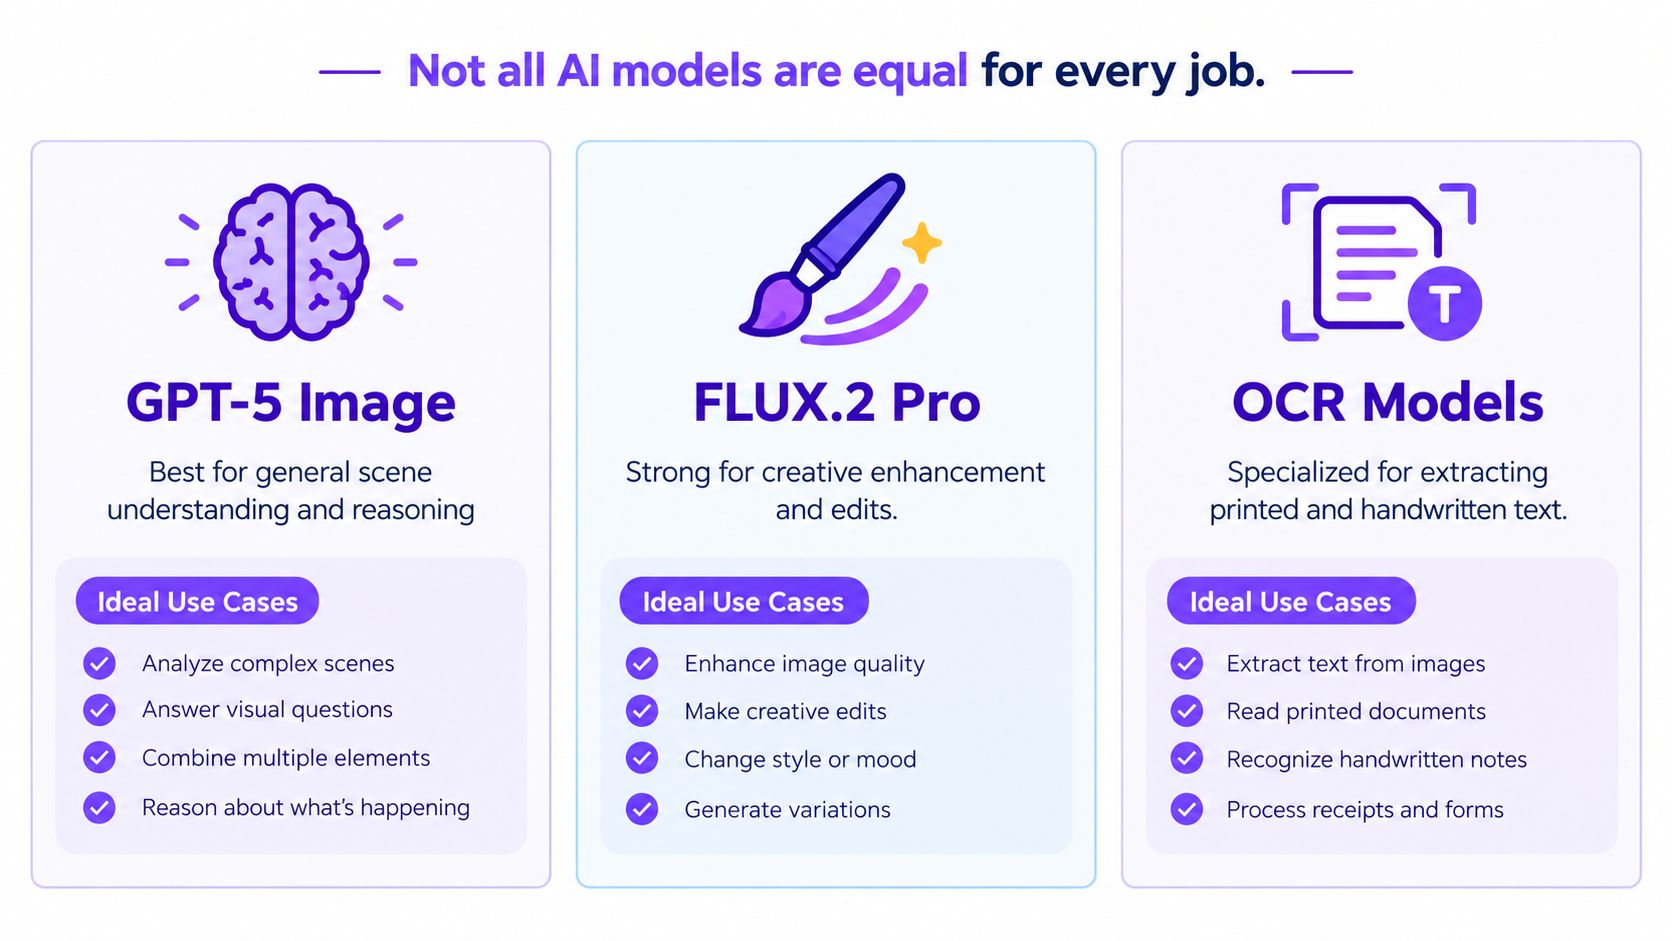
| GPT-5 Image | General scene understanding, visual question answering, and reasoning | Broad capability doesn't eliminate ambiguity or hallucination | Evidence-based descriptions and structured observations |
| FLUX.2 Pro | Creative enhancement, variations, and image edits | An editing model isn't automatically an evidence-extraction tool | Visual concepts, revisions, and creative treatments |
| OCR models | Printed or handwritten text extraction | Performance depends heavily on focus, contrast, language, and script | Transcriptions, detected text regions, and confidence notes |
| Human review | Identity, medical, legal, authenticity, or safety decisions | Slower and more expensive in attention | Accountable judgment supported by image evidence |
Model names and availability change, so verify the current options in the workspace you use. A platform with side-by-side comparison, such as the workflow described in model comparisons, can make testing more practical because you can compare answers against the same image and prompt.
Test on representative images
Don't evaluate a model only on a clean, centered example. Build a small test set containing the difficult images your workflow will encounter:
- A label with glare or curved packaging
- A scene with overlapping objects
- A partially hidden subject
- A low-light or compressed image
- A screenshot containing small text
- An image with several plausible interpretations
For object detection, track precision, recall, F1, and intersection-over-union instead of relying on a single accuracy figure. Research on ImageNet shows that models trained on standard benchmark images can lose 11 to 14 percentage points on newer, more difficult images (ImageNet performance-shift research). That gap is a reminder that benchmark performance doesn't guarantee dependable results on your own archive.
Use a general model for an initial inventory, an OCR model for text, and human review where an incorrect inference could cause harm. For creative work, keep generation and analysis separate. A model that can produce a convincing edit may be excellent at aesthetics while offering no reliable evidence about the original scene.
Extracting Metadata and Technical Details
Visual analysis begins with pixels, but a photo may contain another layer of evidence inside the file. Exif, or Exchangeable Image File Format, metadata can record the camera make and model, exposure settings, focal length, dimensions, color space, timestamps, and, when enabled, GPS coordinates. The standard was first released by the Japan Electronic Industries Development Association in October 1995, with later milestones adding GPS support, Adobe RGB support, time-zone information, and UTF-8 text encoding (Exif development history).
Preserve the file before you inspect it
Download or copy the original before opening it in an editor, messaging app, or social platform. Those systems may remove, rewrite, or preserve only part of the metadata. A screenshot usually contains the visible image but not the original camera context, and an export may carry timestamps that describe the export rather than the capture.
A practical metadata pass should record:
- File name and format
- Pixel dimensions and orientation
- Camera make and model, if available
- Capture timestamp and time zone, if available
- Lens and exposure information, if available
- Embedded GPS coordinates, if present
- Editing or software tags
- Whether the metadata appears incomplete or inconsistent
AI can summarize these fields alongside visual observations, but it shouldn't treat metadata as automatically authentic. A timestamp can be altered. A location can be absent, wrong, or copied during export. Exif is supporting evidence, not definitive proof of where or when an image was made.
Combine technical and visual evidence carefully
Suppose a file contains a camera model and a timestamp, while the image shows a dark indoor scene with motion blur. The metadata may help explain the capture conditions, but it doesn't establish who took the photo or whether the scene has been edited. Conversely, a social-media image with no Exif data isn't necessarily suspicious. Metadata may have been stripped during processing.
For text-heavy images, pair metadata inspection with a dedicated extraction workflow rather than asking a general model to guess tiny lettering. A practical companion resource is this guide to AI OCR software, especially when the image contains documents, labels, receipts, or screens.
Generating Captions and Alt Text Automatically
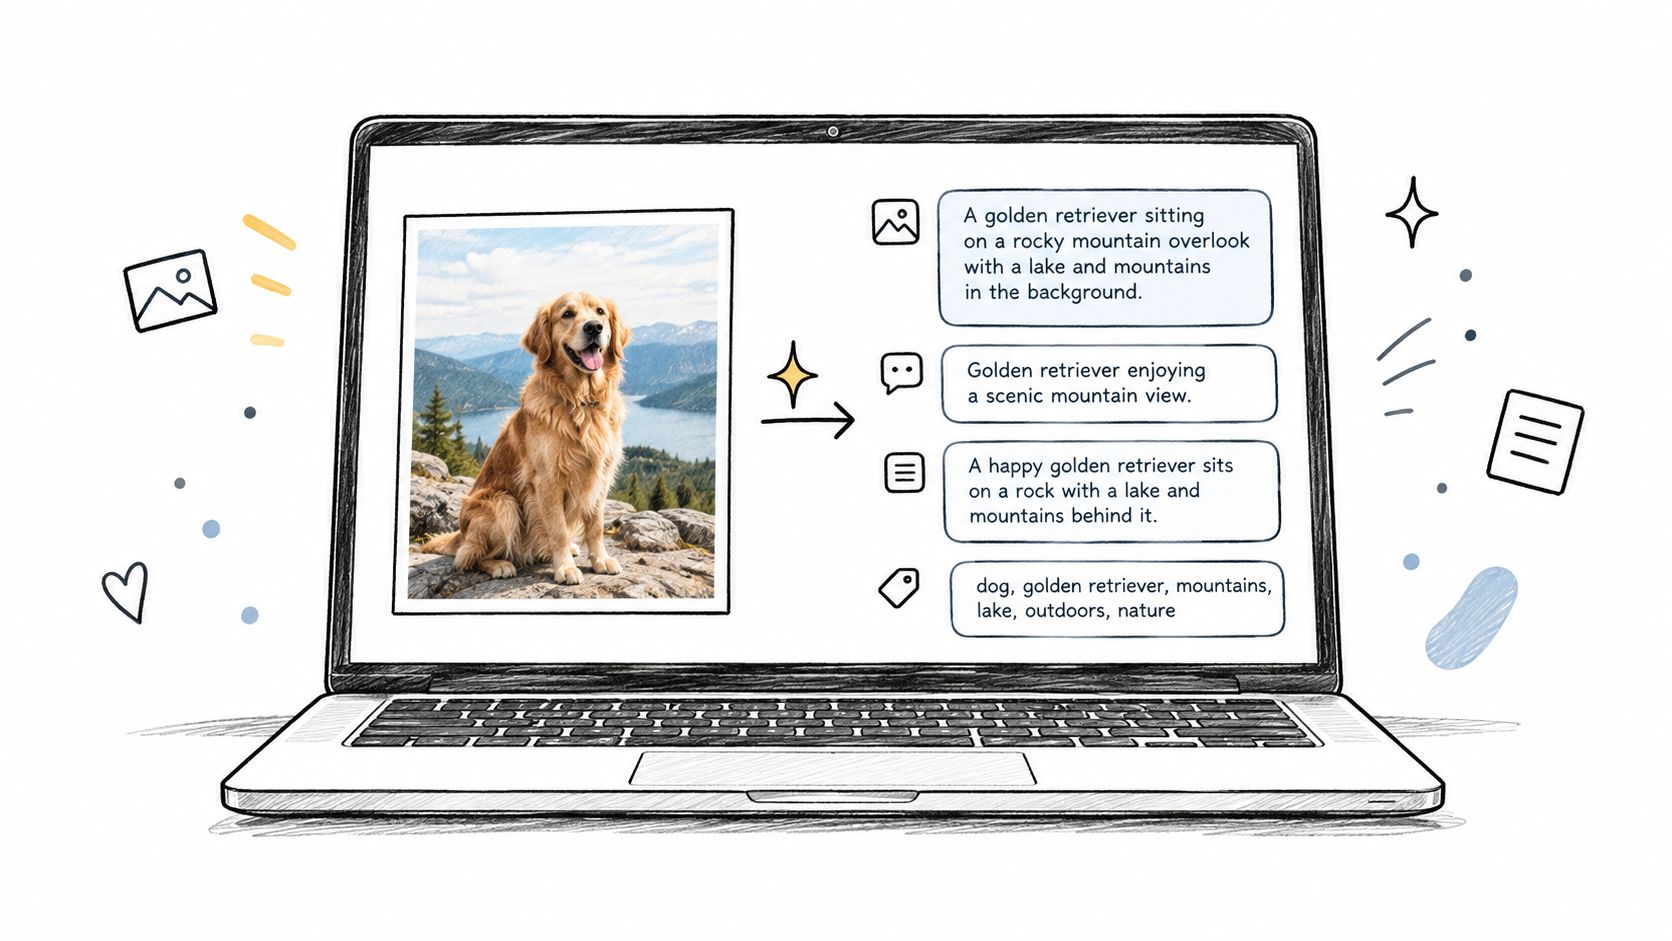
A useful caption does more than name the largest object. It describes the image at the level required by its audience, while avoiding details the image can't establish. That means the same photograph may need different outputs for accessibility, product discovery, editorial publishing, and social media.
Separate literal description from interpretation
Ask for two layers instead of one blended paragraph:
- Visible description: subjects, actions that are visibly occurring, setting details, readable text, color, and composition.
- Possible context: interpretations that may be useful but require confirmation.
For example, an image may visibly show a person in a reflective vest beside a vehicle. It may suggest a construction setting, but the photo alone may not establish the person's job, employer, location, or purpose. Alt text should usually stay with the visible description unless the surrounding page supplies verified context.
A strong accessibility prompt might be:
Write concise alt text for a screen-reader user. Mention the main subject, meaningful action, and relevant setting. Don't identify people, infer emotions, guess location, or add marketing language. If text is visible, include only text that can be read confidently.
Adapt the output to the publishing context
E-commerce: Describe the product, its visible form, color, orientation, and important features. Don't invent specifications or benefits that aren't visible.
News publishing: Identify the central event or scene only when the surrounding reporting confirms it. Keep the image description distinct from the article's factual claims.
Accessibility: Prioritize what a person who can't see the image needs to understand its role on the page. Decorative images may need a short indication rather than a catalogue of every background detail.
Social media: A caption can carry tone, but the copy should still distinguish brand context from visual fact. If the image shows a product on a table, don't claim that it is durable, sustainable, handmade, or newly launched without external confirmation.
Use the generated text as a draft. Remove invented details, reduce repetition, check brand terminology, and match the reading level of the audience. When the image contains sensitive material, narrow the request instead of asking for a broad interpretation. A model may correctly notice a badge, document, face, or medical device, yet that doesn't mean the resulting inference belongs in a public caption.
Understanding AI Limitations and Avoiding Hallucinations
A photo shows light, shapes, text, and context clues. The model turns those signals into labels and guesses. Problems start when a guess is written like a fact.
In practice, the failure is rarely “the AI missed a minor object.” The bigger risk is a polished description that goes beyond what the image can support. That shows up in ordinary work all the time. A model names the wrong product variant, assumes a document is a passport, or treats a crowded background as proof of a location or event. Hard images make this worse. Occlusion, fine-grained category differences, clutter, and multiple subjects are recurring failure patterns, as noted earlier in the article.
Use an evidence ladder
Require the model to tag every claim with a level of support:
- Visible: Directly observable in the image, such as “a blue rectangle appears near the lower-right corner.”
- Uncertain: A plausible reading with other explanations, such as “the object may be a passport.”
- Requires external confirmation: A claim the image cannot establish, such as identity, ownership, diagnosis, intent, or exact location.
This sounds simple, but it changes review quality fast. Teams stop arguing over whether an answer “feels right” and start checking what is on the screen.
Ask for the reason behind the claim, not just a confidence score. “High confidence” is vague. “Supported by readable text and a clear logo” gives the reviewer something concrete to verify.
If the answer matters, ask the model to show the evidence before you accept the conclusion.
Know when to stop automation
Some errors are fixable. A tighter crop can resolve an object-label dispute. A cleaner original can improve OCR. Running a second model can expose where the first one filled gaps with background assumptions.
Some limits remain. An image alone usually cannot prove identity, medical status, legal ownership, or authenticity. Real-world performance also falls apart on difficult images much faster than benchmark summaries suggest. That gap is one reason I separate visible observations from interpretation on any workflow that could affect publishing, compliance, or customer communication.
The same caution applies when you suspect an image or text was machine-generated. Tools such as AI detection by Unflag can add a useful signal, but they should sit beside source history, editing traces, file inspection, and human review. The practical standard is straightforward. Keep the description tied to what the photo visibly shows, label inferences as inferences, and verify anything that carries risk before it leaves draft status.
Putting It All Together, A Complete Workflow
Preserve the original, inspect the file, and remove or redact unnecessary sensitive information before upload. Define one task, choose a suitable model, and request visible observations separately from interpretations. Extract Exif when available, use OCR for text-heavy images, generate the caption or alt text, and compare important results with a second pass. Review uncertainty manually, then save the image version, prompt, model, output, and final decision for an audit trail. If you need to organize incoming event images before analysis, a dedicated workflow to collect guest photos can keep source files together.
These habits will matter as visual analysis becomes more common across marketing, research, publishing, and creative work. The goal isn't to make AI sound certain. It's to make the final answer more useful, traceable, and honest about what the photograph can show.
Writingmate brings image analysis, file workflows, model comparison, and research tools into one workspace, so you can test a photo-analysis prompt and review competing outputs without switching between applications. Upload a working copy, ask for evidence-labeled observations, and visit Writingmate to build a repeatable workflow around the results.
Frequently Asked Questions
Sources
Written by
Artem Vysotsky
Ex-Staff Engineer at Meta. Building the technical foundation to make AI accessible to everyone.

Reviewed by
Sergey Vysotsky
Ex-Chief Editor / PM at Mosaic. Passionate about making AI accessible and affordable for everyone.